MySQL Server Installation
During the installation of the software, internet connection is required.
- Double click on mysql-installer-community-5.7.29.0.

- In the Wizard main page click “Next”.

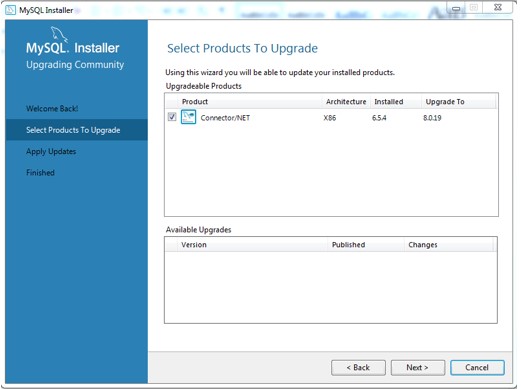
- In the Select Products To Upgrade, select the Connector/Net (if not already selected) and click “Next”.
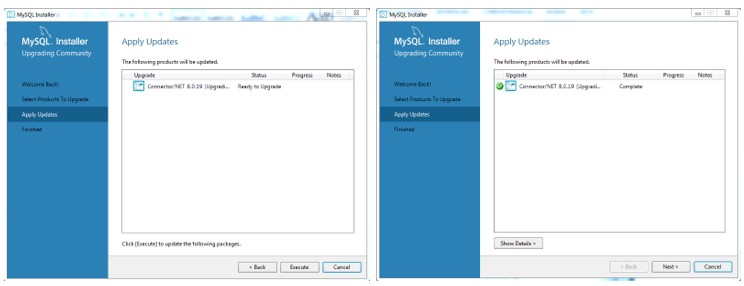
- The Apply Updates window will show the products selected in the window before, click Execute and wait until the updated is completed and click Next”.
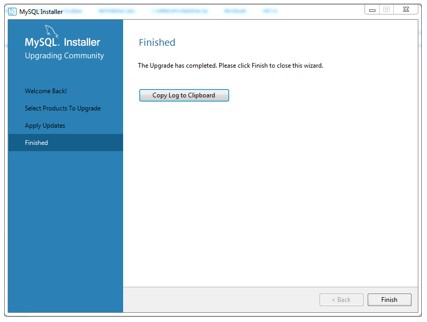
- In the next window click “Finish”.
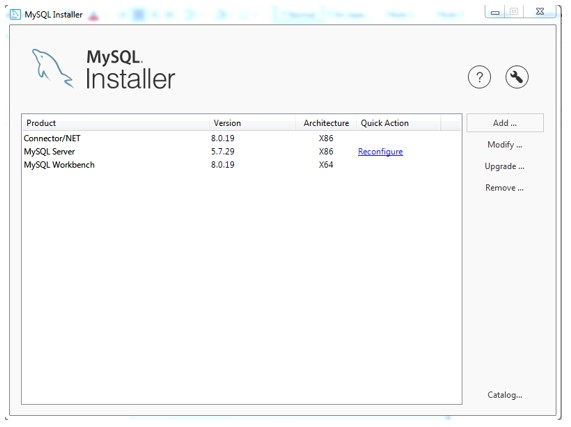
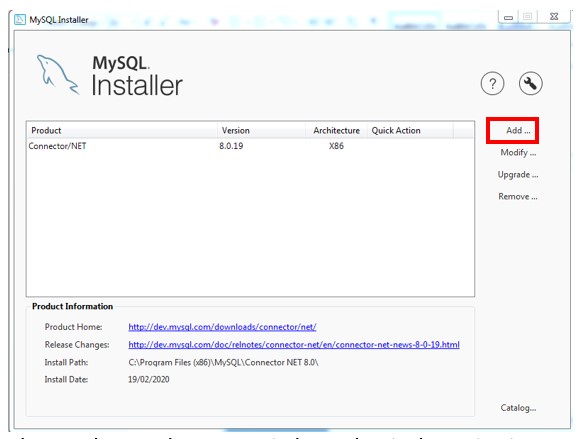
- In the MySQL Installer window choose the “Add option”:
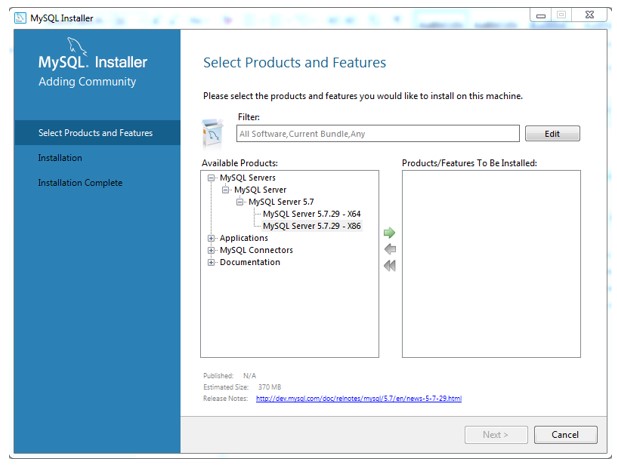
- In Select Products and Features window, select in the navigation tree “MySQL Servers”, then click “MySQL Server 5.7” and then, according to you system; select “MySQL Server 5.7.29 – x64” if 64bits or “MySQL Server 5.7.29 – x86” if 32bits. Click on the button and the product will appear on the right panel.
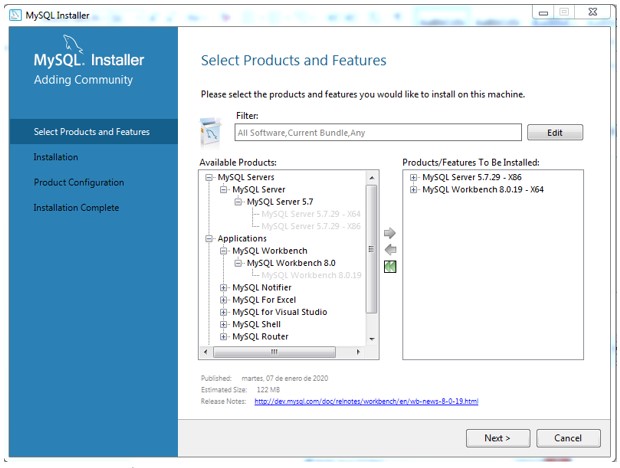
- Then in the navigation tree, click “Applications”, then click “MySQL Workbench”, then click “MySQLWorkbench 8.0” and select “MySQL Workbench 8.0.19 – x64”. Click on the button and the product will appear on the right panel. Once these products are added click “Next”.
- In the Installation window click Execute. Wait until the Installation is complete and click Next.

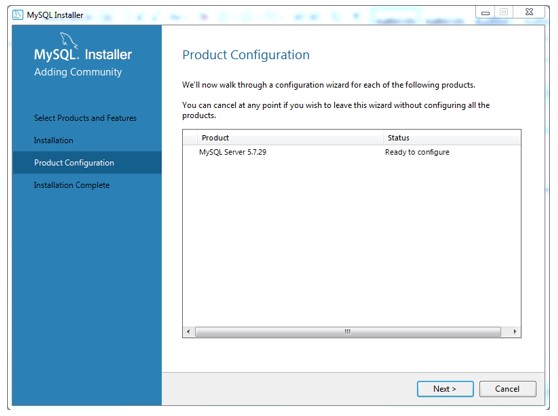
- In the Product Configuration window click “Next”.
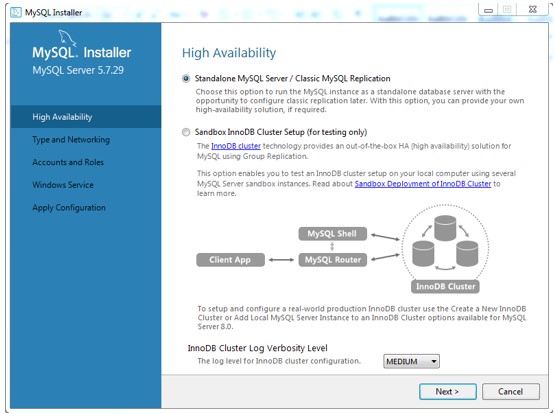
- In the High Availability window, choose the “Standalone MySQL Server” to have a better performance.
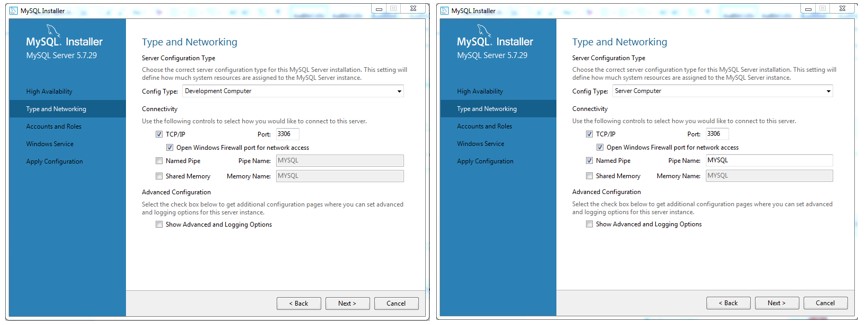
- In the Type and Networking window it’s recommended to choose “Server Computer” in Config Type and click on the Named Pipe box. Click Next.
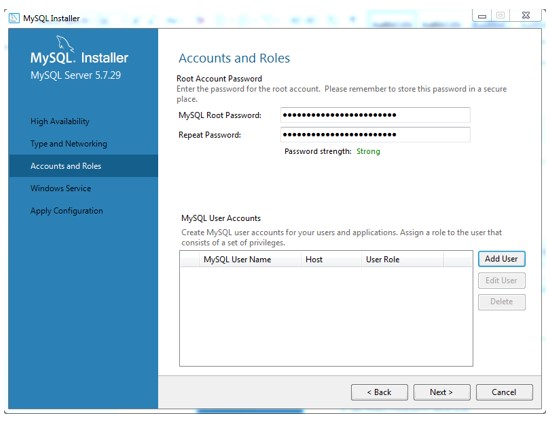
- In the Accounts and Roles window, type a secure password for the Root and then click Next.
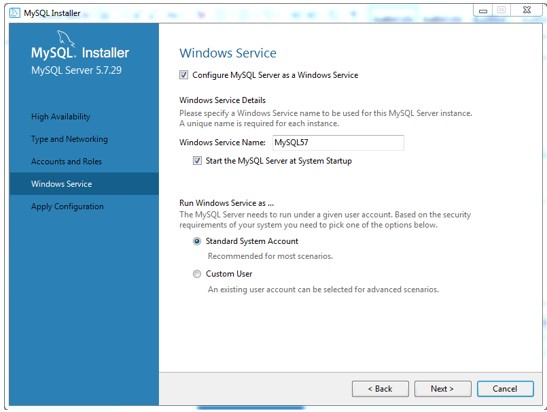
- In Windows Service click Next.
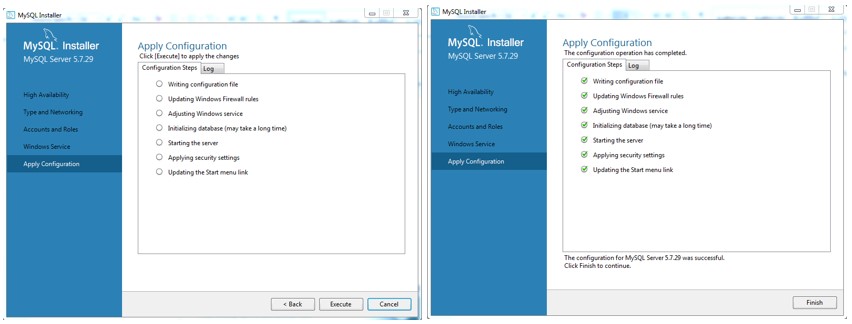
- In the Apply Configuration window click Execute and wait until the changes are applied, then click Finish.
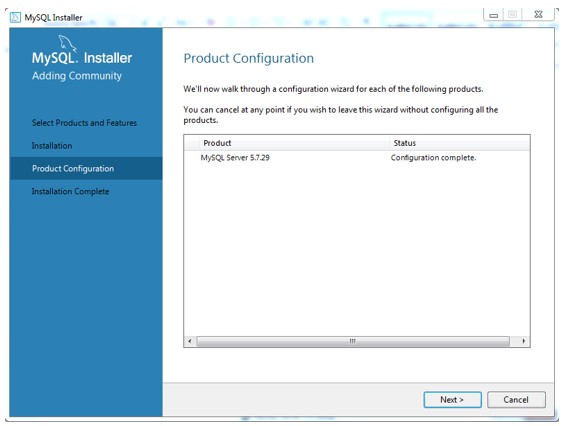
- In the Product Configuration window click Next.
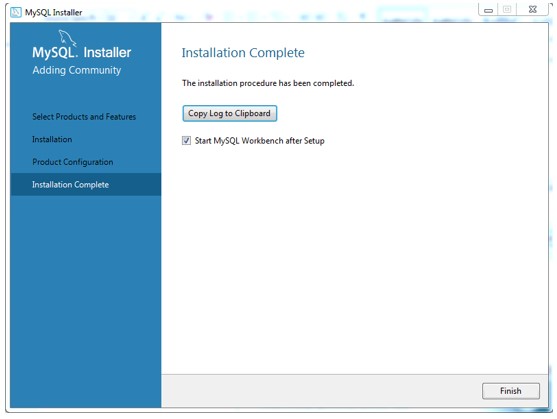
- And in the next window you can select if you want to start MySQL Workbench right now or later, then click Finish.
- Now you will be in the MySQL Installer window again showing all the software installed. Now you can close the window.