MySQL is an open source relational data base managing system (RDBMS), based on the Structured Query Language (SQL). With a client-server model, it is a software or service use tu create and manage data base based on the relational mode. This database manager is multiuser and multithread, so this is helpful to be used for several users at the same time, you can even make queries at the same time, making the software very versatile.
Step by Step Installation:
During the installation of the software, internet connection is required.
Double click on mysql-installer-community-5.7.29.0.
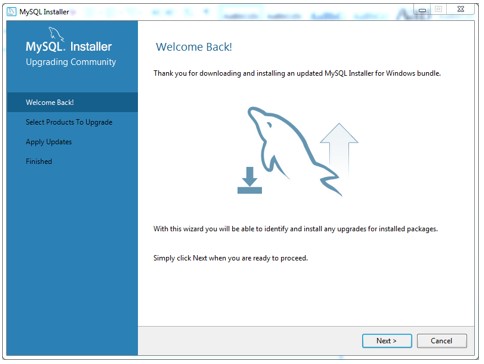
In the Wizard main page click “Next”.
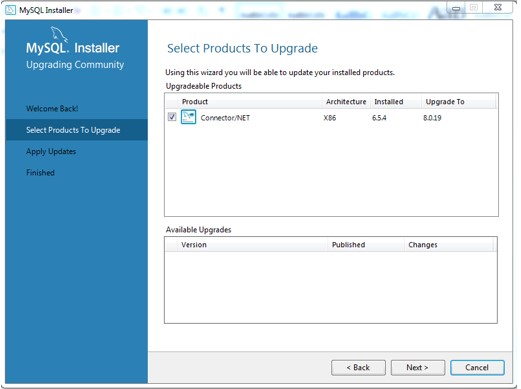
In the Select Products To Upgrade, select the Connector/Net (if not already selected) and click “Next”.
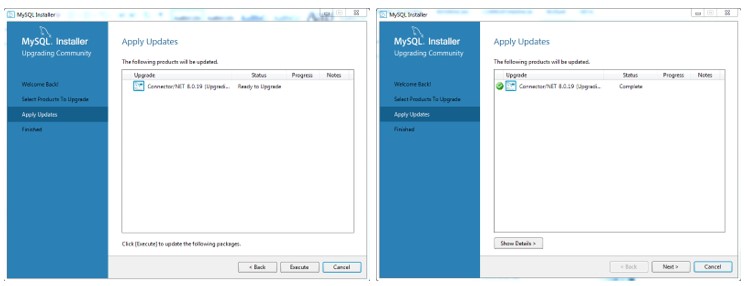
The Apply Updates window will show the products selected in the window before, click Execute and wait until the updated is completed and click Next”.
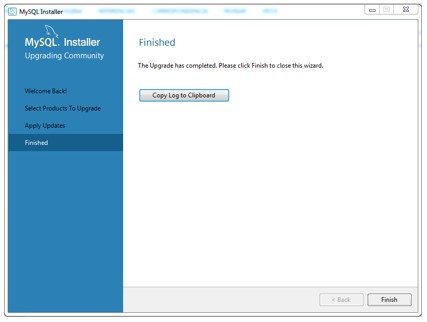
In the next window click “Finish”.
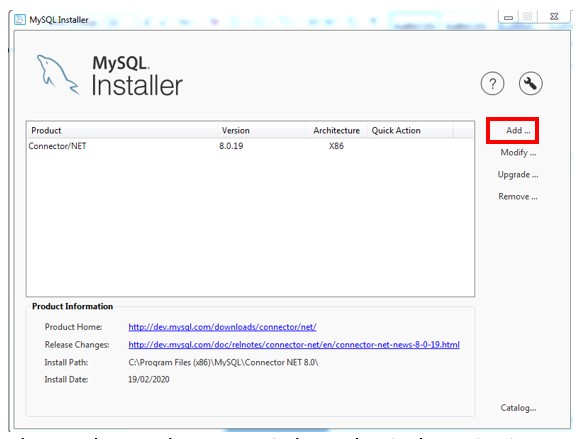
In the MySQL Installer window choose the “Add…” option:
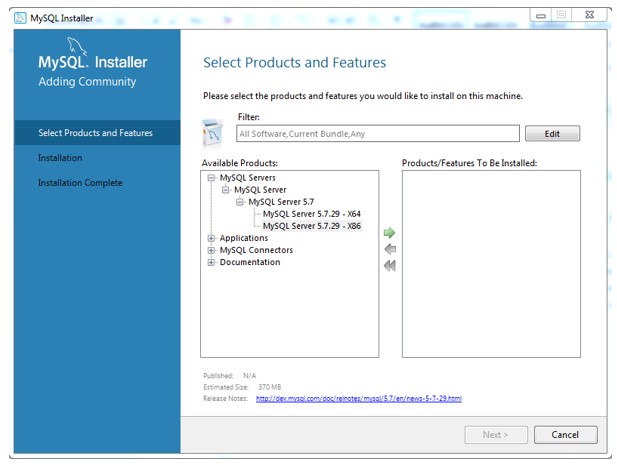
In Select Products and Features window, select in the navigation tree “MySQL Servers”, then click “MySQL Server 5.7” and then, according to your system; select “MySQL Server 5.7.29 – x64” if you’re using 64-bit or “MySQL Server 5.7.29 – x86” if you’re using 32-bit. Click on the button and the product will appear on the right panel.
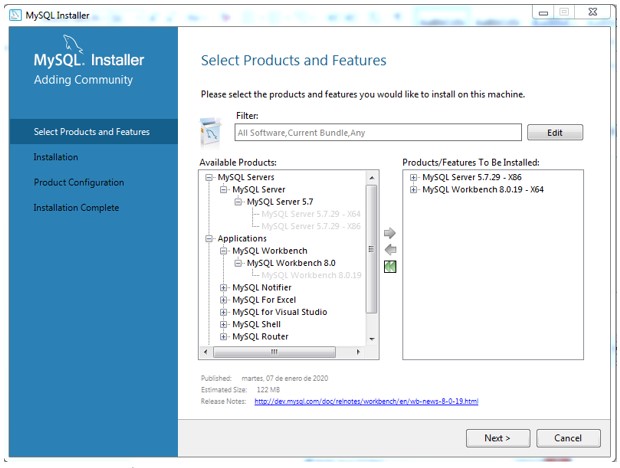
Then in the navigation tree, click “Applications”, then click “MySQL Workbench”, then click “MySQLWorkbench 8.0” and select “MySQL Workbench 8.0.19 – x64”. Click on the button and the product will appear on the right panel. Once these products are added click “Next”.
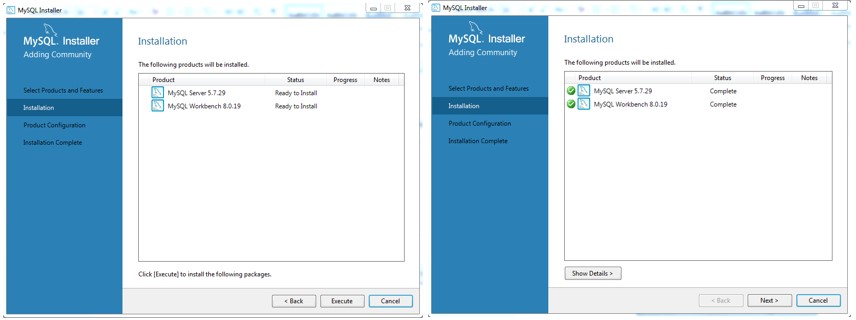
In the Installation window click Execute. Wait until the installation is complete and click Next.
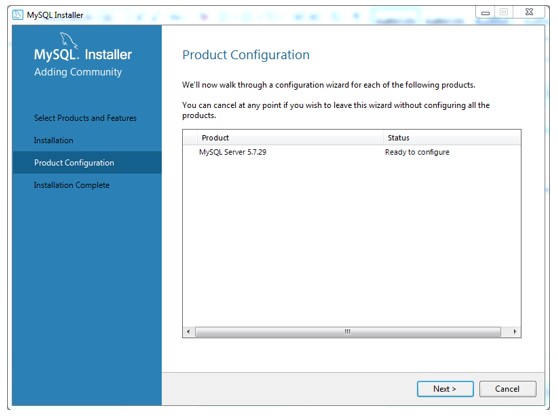
In the Product Configuration window click “Next”.
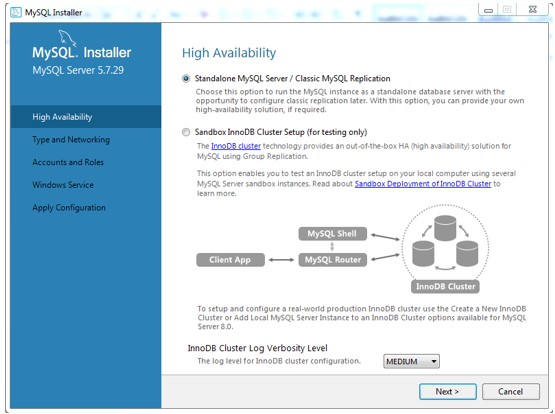
In the High Availability window, choose the “Standalone MySQL Server” to have a better performance.
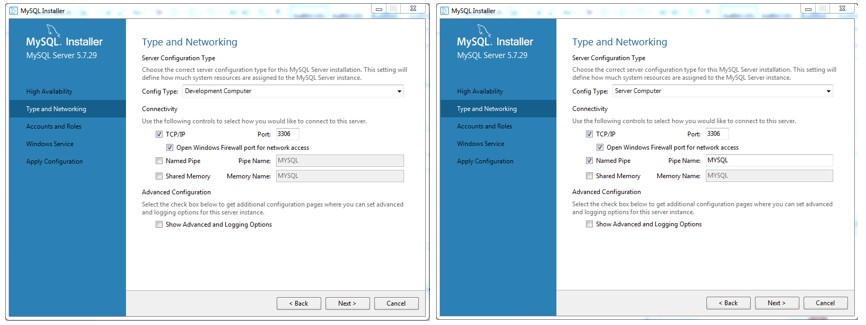
In the Type and Networking window it’s recommended to choose “Server Computer” in Config Type and click on the Named Pipe box. Click Next.
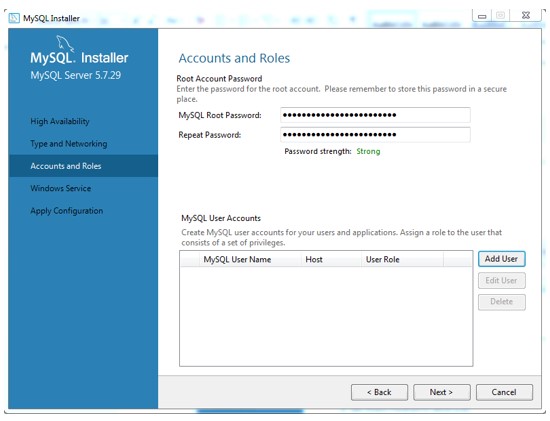
In the Accounts and Roles window, type a secure password for the root and then click Next.
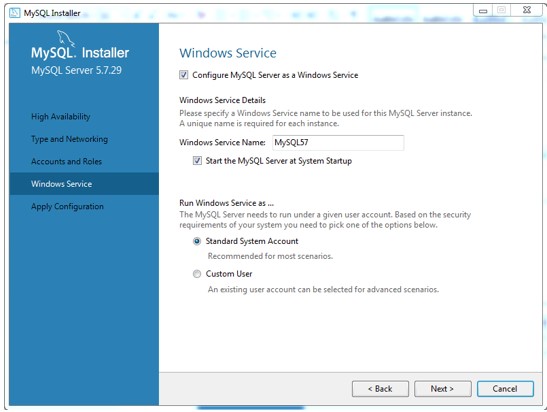
In Windows Service click Next.
In the Apply Configuration window click Execute and wait until the changes are applied, then click Finish.
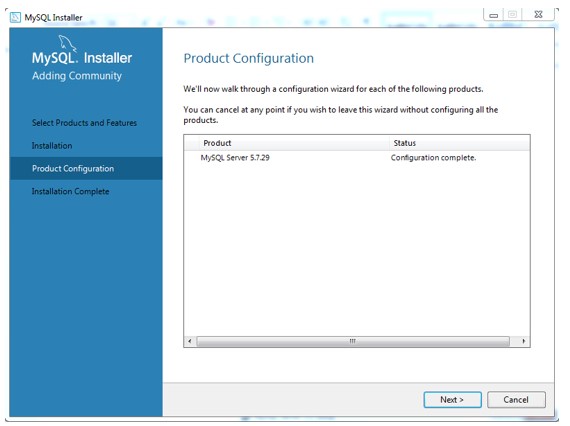
In the Product Configuration window click Next.
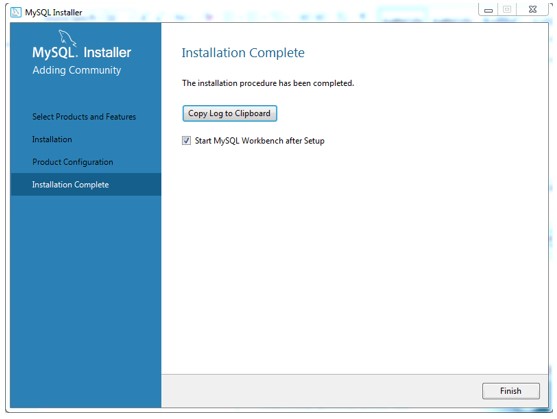
In the next window you can select if you want to start MySQL Workbench right now or later, then click Finish.
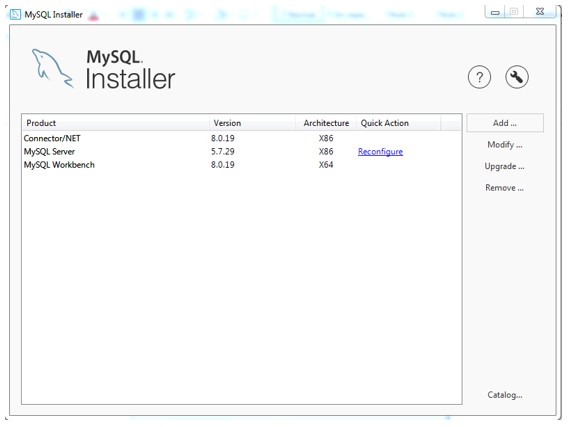
Now you will be in the MySQL Installer window again showing all the software installed. Now you can close the window.