Adding a Phantom sensor is now easier than ever. Here we will explain to you the process to add your devices to your database.

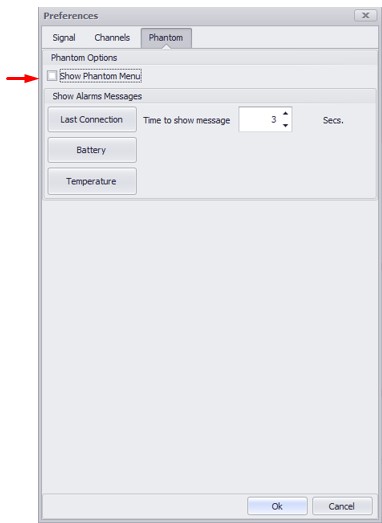
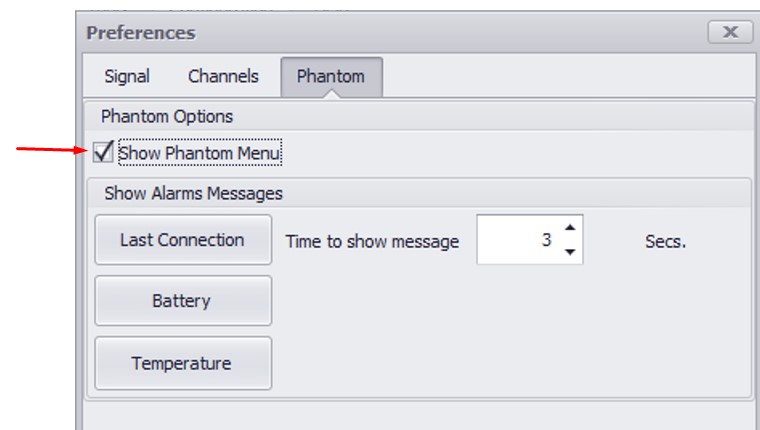
Now, the Phantom menu will show in the window’s menu bar. Go to the phantom window and select Wizard.

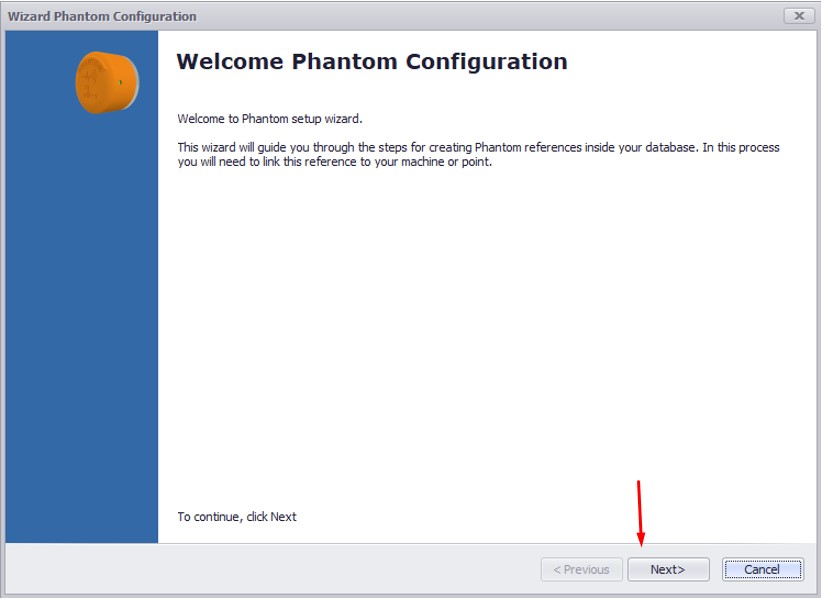
The Phantom Configuration Wizard screen opens in a new window. Click the Next button.
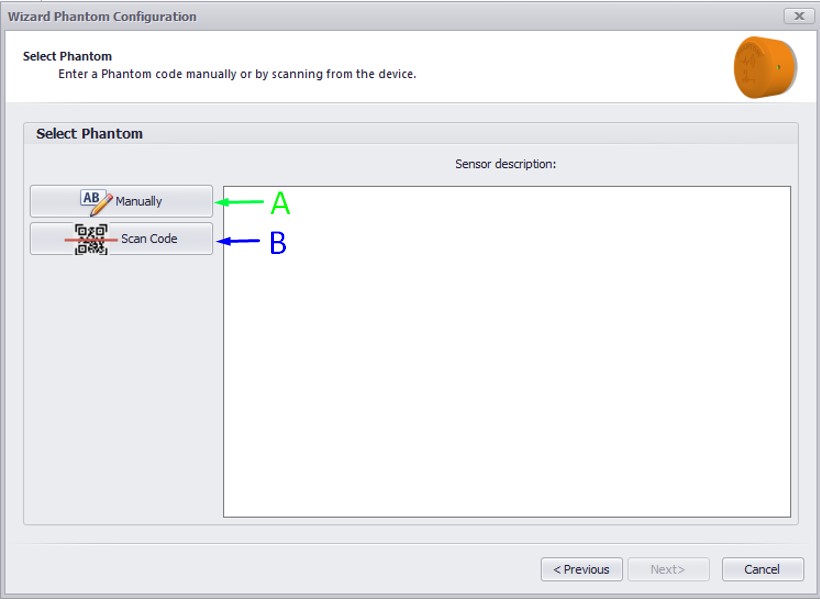
Option A allows us to manually enter a phantom code, and with option B we can scan the phantom QR code.
Add Phantom’s
Manually
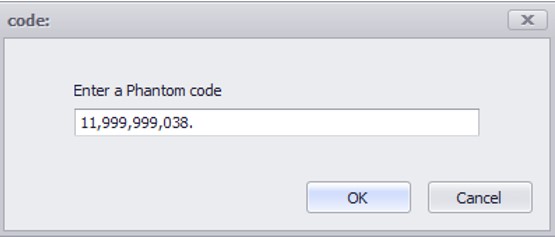
You can add phantoms by using an 11-digit ID code, select the Manually button: The Code window opens. Manually enter the 11-digit Phantom ID code from the sensor’s QR label (2-digit sensor model code + 9-digit sensor serial number) into the Code text field. Then click the Ok button. The manually entered sensor will appear in the Phantoms added section. Sensors may be removed from the group using the Delete option.
Scanning the QR code
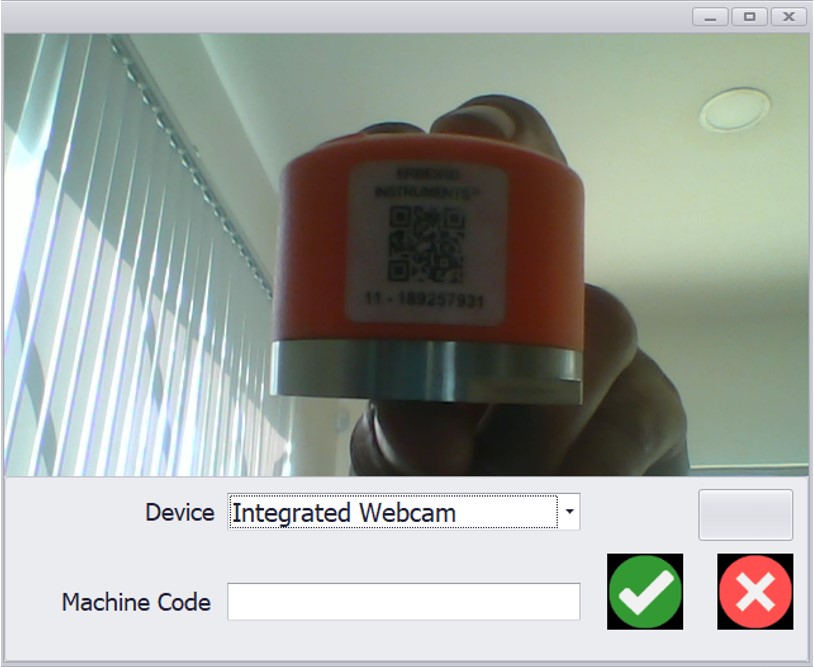
(PC, laptop, or tablet computer camera required): Click the QR Code Reader button. The Code Bar Reader window opens.

Select the desired camera from the Device dropdown list. Position the QR label in front of the camera – squarely and close enough to be clearly read. The Code Bar Reader window will automatically capture the image, momentarily turn green, and document the sensor when it has read the QR code. It will then close automatically, and the scanned sensor will appear in the Phantoms added section.
Naming and configuration
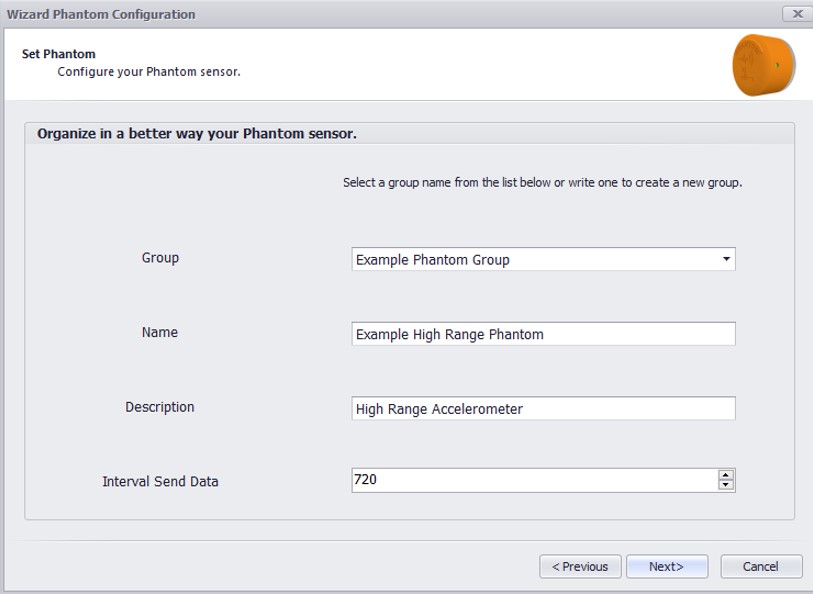
We can organize ur phantom devices with the following tools:
- With the group box, we can select a previously group name from the list or tye a new one to create a group:

- In the name box, we can select a name for our device o to simplify the phantom identification:

- On the description box, we select what kind of phantom are we using:

- At least the Interval Send data establishes the sensor’s collection interval. The minimum value for data collection is 10 minutes, and the maximum is 1,440 minutes (1 day).

Once you’re finished click next.
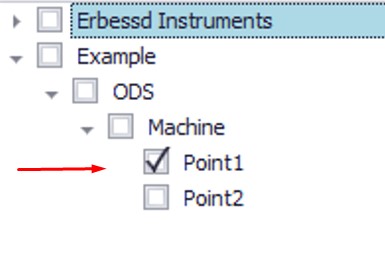
Assing device
In the next window, we find the Assing Channels screen, here we can assign the device to an analysis point in a selected machine from the tree, we can only set one point per phantom: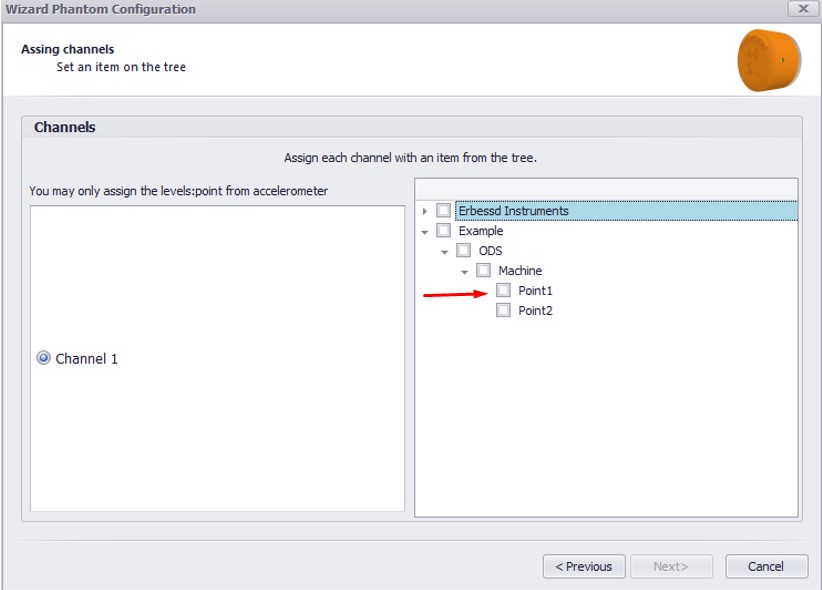
Set the Axis and Alarms
Next, we have the set phantom alarms window. This window has two options, the Axis configuration, and the alarms. 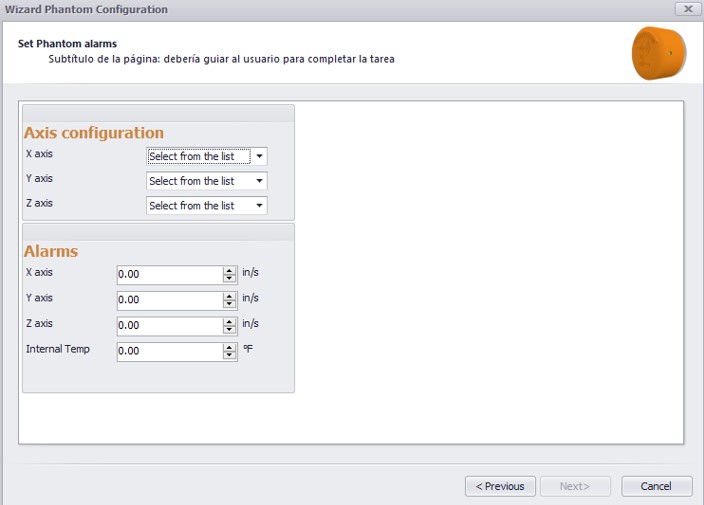
In the Axis configuration, we select a value for each phantom axis, we can set horizontal, vertical, or axial from the displayed list: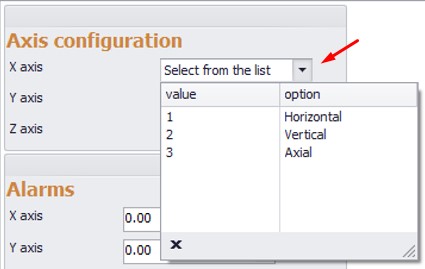
In alarms, we can set a preset RMS and temperature threshold. If the alarm value is exceeded, the sensor will immediately wake and send an unscheduled data collection.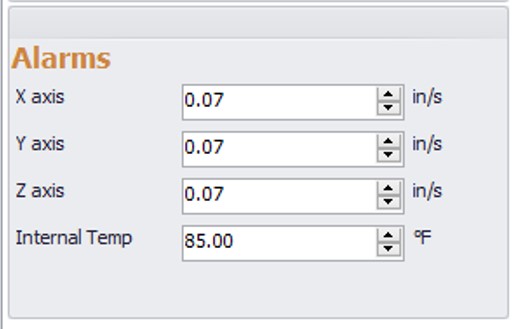
Completing Phantom Configuration
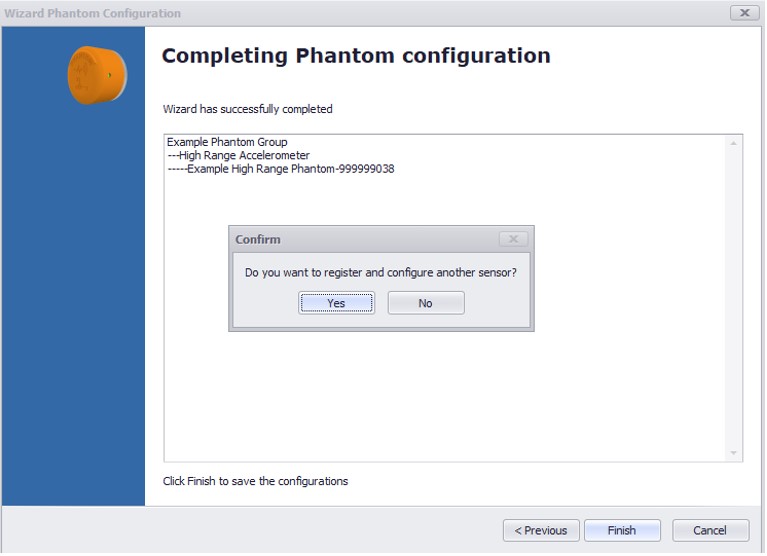
To learn more about our Phantom system please visit the Vibration Phantom section.