Learn how to create the connection between EI Monitoring Service and the most powerful gateway.
Enable Internet Connection
First of all, it is important to connect our Gateway 2.0 to a network. This can be done in one of two ways:
- Connect the gateway directly to the modem using an ethernet cable.
- Connect the gateway using Wi-Fi through a wireless network. You can learn how with the steps below:
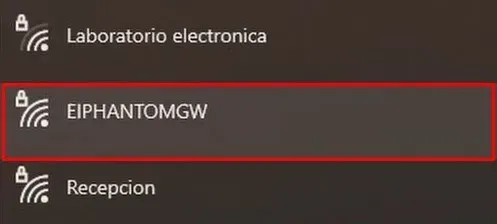
1- If your gateway receiver is new and does not have any configuration yet, it will emit a Wifi network called “EIPHANTOMGW“, connect to the network.
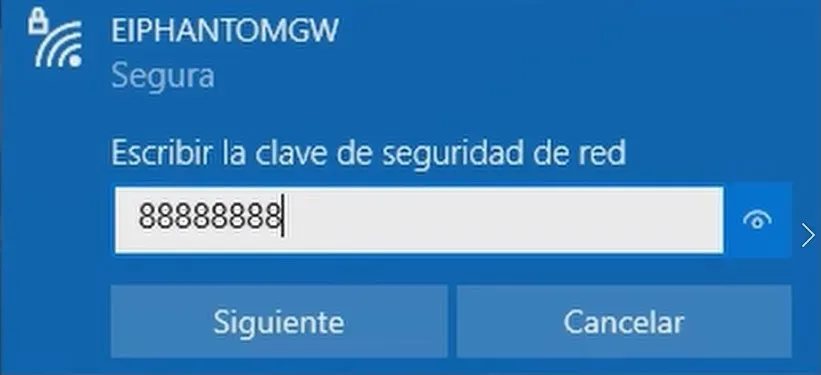
2- If necessary, enter the gateway’s default password which is 8 times the number 8 (88888888).
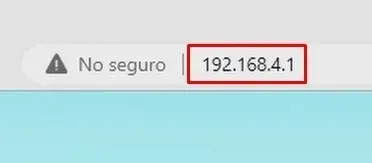
3- Once connected to the network, go to the web browser of your choice, and enter in the address bar the following IP address: 192.168.4.1
4- This will load the Gateway 2.0 settings screen. If the gateway is not yet configured to send data to any specific location, it will appear in red.
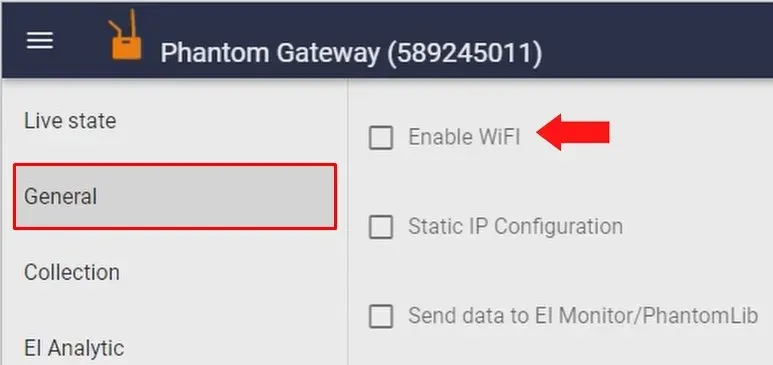
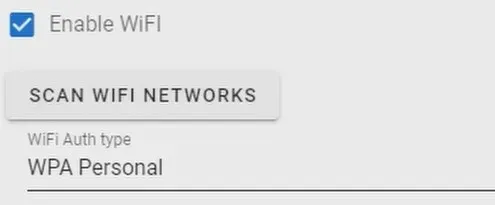
5- On the left side of the settings screen go to the “General” tab. Here, click on the “Enable WiFi” option and some fields will appear.
6- Click on “SCAN WIFI NETWORKS“, the button will change to the loading symbol, this means it is scanning. Wait until it finishes.
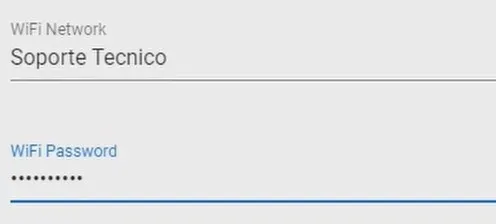
7- In the “Wi-Fi network” section, expand the list and select the Wi-Fi network. Then enter the password on the “Wi-Fi Password” section.
Enable EI-Monitoring Connection
When the gateway gets connected to the network with cable or wifi, connect the computer to the same network, and install and open EI-Monitoring service. The next steps will need for you to use the software.
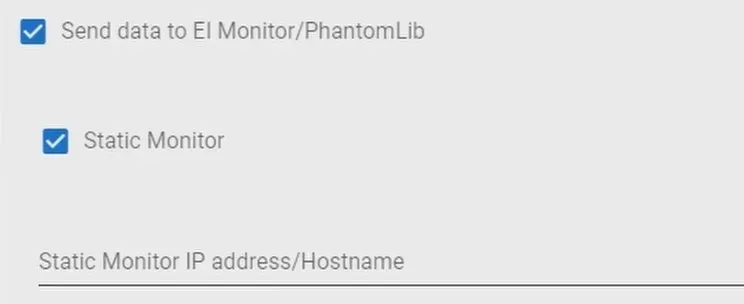
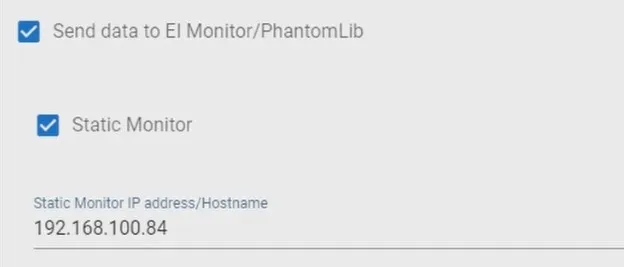
At the bottom, activate the “Send data to EI-Monitoring” option and the “Static Monitor” option as well. Now, enter the IP address of the EI-Monitoring software
To get the static monitor IP; you need to open EI-Monitoring Service and then check in the “configuration” tab with the “Get IP Address” tool.
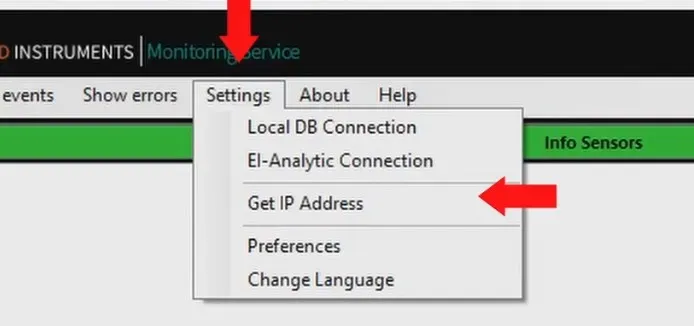
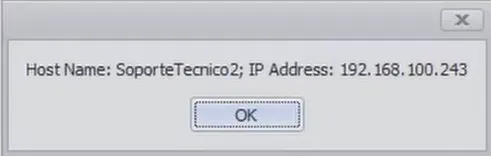
Type the IP address shown on the EI-Monitoring Service (the IP in the image may not match the one shown on your EI-Monitoring).
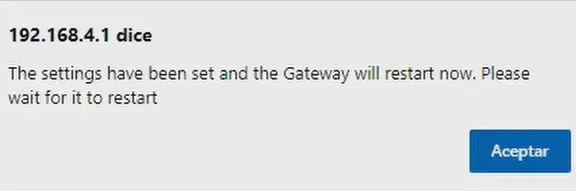
Once finished, click “SAVE“, a message will appear at the top of the screen, click “ACCEPT” to confirm the changes.
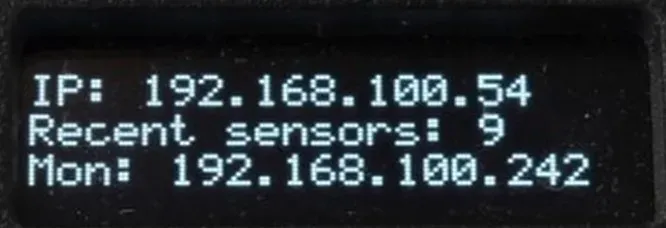
The gateway will restart and after a few seconds the screen will show a new IP address, and the caption “Mon:” with the EI-Monitoring IP address
By following these steps your gateway will be able to make a successful connection to EI-Monitoring system. If any of these steps are not shown as presented in the tutorial or you have any questions about any part of the process; do not hesitate to contact ERBESSD INSTRUMENTS® technical support.