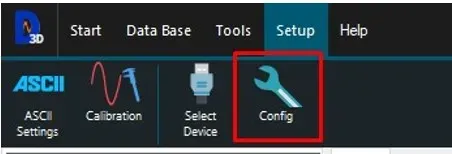
In the next document we will show how to use an inclinometer with Digivibe MX® 10.18 software. At first, we need to set the position of the inclinometer. Go to the Setup menu and select the Config button.
On the preference emerging window, we go to the inclinometer position section:
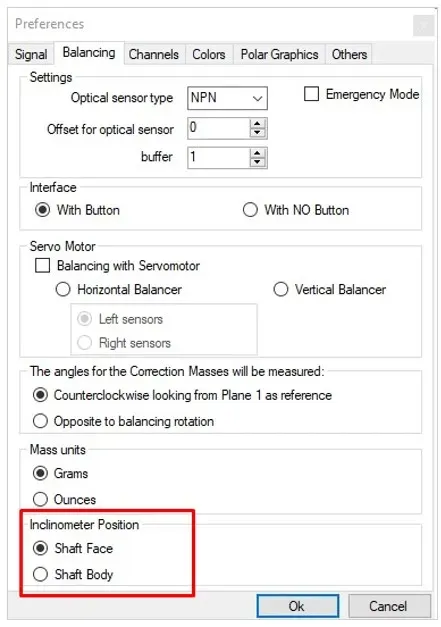
Here we select the position of the inclinometer, there are two different options.
Option 1, Shaft Face position:
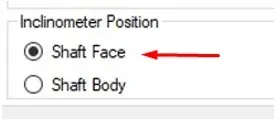
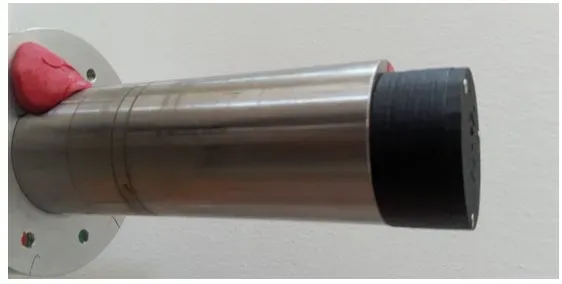
Select this option when the inclinometer is perpendicular to the machine rotation axis, like is show in the next image:
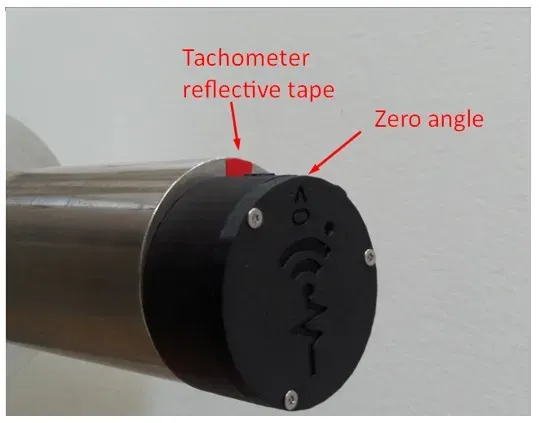
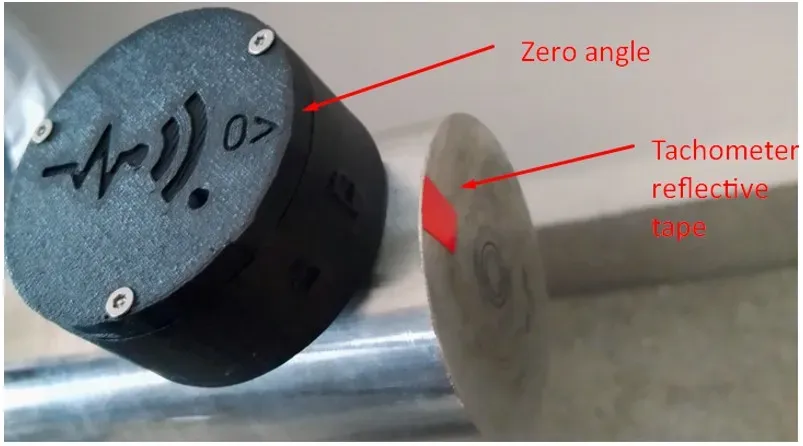
We recommend positioning the inclinometer so that the zero angle is in the same direction as the tachometer reflective tape. Example:
Option 2**, Shaft Body** position:
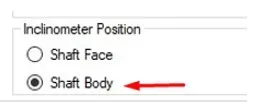
Select this option when the inclinometer is parallel to the machine rotation axis, like is show in the image:
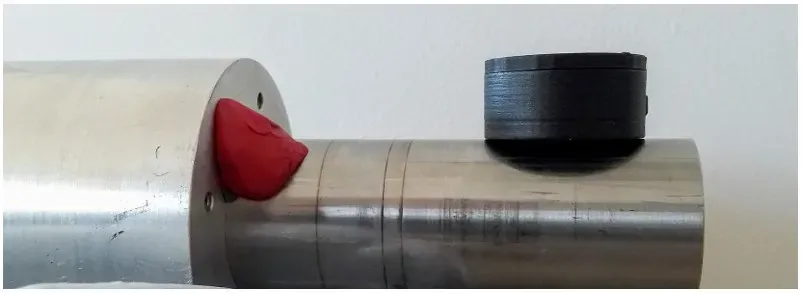
We recommend positioning the inclinometer so that the zero angle is in the same direction as the tachometer reflective tape. Example:
Once the inclinometer position is defined, we go to the Start window menu and select New Balance:

This will deplay a new balance window:
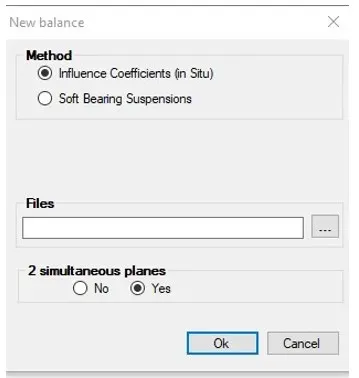
In Method:
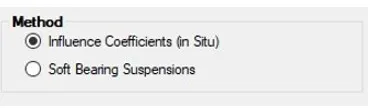
- Select the Influence Coefficients (on-site) option when we want to go to the balancing window directly.
- Select the Soft Bearing Suspensions option when we want to add the specifications for the analysis in the balance wizard.
And below, we select if we want to balance in 2 simultaneous planes or not:

Click Ok when finish.
Next in the Balancing menu we select the Inclinometer option:
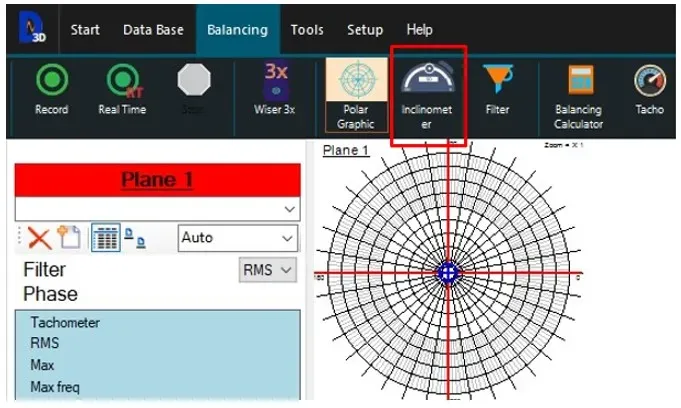
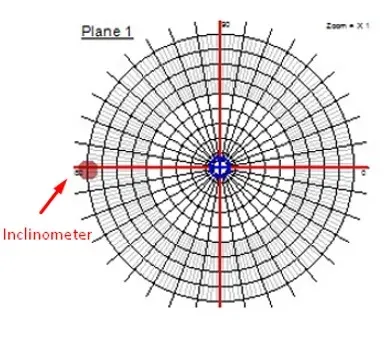
Once the inclinometer is connected, it will be show in the plane as a red circle, example:
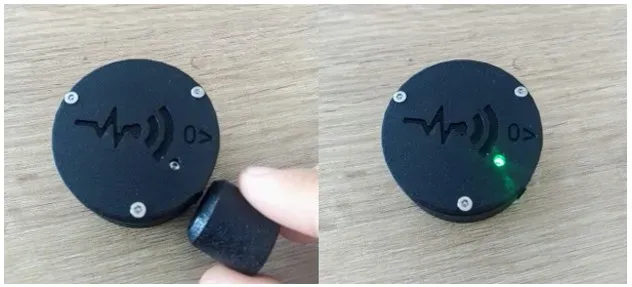
If the inclinometer is not automatically connected, restart it with a magnetic key: